Deployment Definitions
A Deployment Definition is a set of instructions for a deployment job. It defines the package version to use, content from the package to include, and any content to be modified during deployment. You can configure the deployment definition to create a new application or to update an existing application.
Before You Begin
Verify that the correct package and version have been created.
Create a Deployment Definition That Creates a New Application
-
In the Qrvey Admin Center, select the Content Deployment icon in the left navigation panel to display the Deployment Definitions tab.
-
Select Create Definition to open the Deployment Definition Description page.
-
At the top of the page, enter a name and description in the fields provided.
-
From the Package to Deploy dropdown, select the package to use in this deployment.
-
Select the Version of the Package to Deploy dropdown and select the package version.
-
Select the content to deploy:
-
Select Select Content. The Select Content dialog displays.
Note: Qrvey v9.3 adds support for newer versions of MySQL (8.4 and up). If you create a new MySQL connection, the Select Content modal displays the connection with a MySQL2 connection type.
-
Select individual items to include in the deployment. To include all the content in the application, select Baseline (select all application content).
-
Select OK. The page updates to display the dependencies of each of your selections.
Note: If you select content that has dependencies, the system automatically includes them in the deployment. For example, if you select a dashboard, but you do not select the datasets that power the charts on that dashboard, the system automatically includes those datasets.
-
-
Leave Create New Application (default) selected.
-
Enter a name in the New Application Name field.
-
(Optional) Enter a description in the Application Description field.
-
Expand each selection to display its properties. Modify the properties as needed.
For datasets, the default setting is to load the data when creating the dataset.
-
Insert parameter tokens as needed.
For API-based Content Deployment, software developers need to know the IDs of the assets to deploy. After content has been added to the Deployment Definition, select the Show Content ID checkbox to display content IDs for the selected assets.
Note: Collapse the content sections to see the Content ID displayed next to the asset name.
Parameter Tokens
The deployment definition does not specify the target destination. That information is defined in the deployment job. This separation enables you to use one deployment definition to create or update multiple target applications for any number of users. To take advantage of this capability when creating the deployment job, use parameter tokens, which are user-defined parameters that can replace any value and be configured for each recipient. The parameter token uses the following syntax:
{{tokenName}}
For example:
- You can copy the same application to multiple instances, but with different options specified for each instance.
- You can use different connection strings in each destination application, depending on the recipient user or tenant.
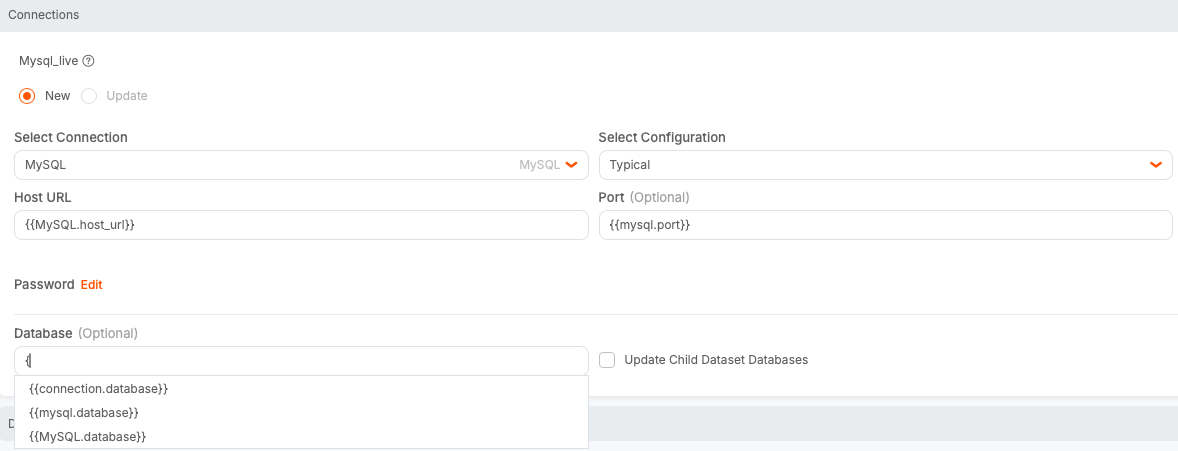
All input fields on the Deployment Definitions page accept tokens. You can replace any value in any input field with a parameter token by typing your own token name inside a set of curly brackets ({{}}). When you enter the first bracket, the system provides contextual suggestions for naming the token.
Note: You can select a suggested value or create your own token.
Parameter Token Use Case
You might need to deploy an application that was created in a staging environment into several tenant accounts in a production environment. The source application is connected to a sample database that is used for development purposes, but each destination environment contains its own database. To achieve this goal, replace the following attributes of the database connection with parameter tokens:
- Host URL:
{{host-url}} - User Name:
{{con-username}} - Password:
{{con-password}} - Database:
{{prod-database}}
When this deployment definition is used in a deployment job, provide a new value (from the production environment) for each token. When the deployment job runs, it resolves the appropriate values for each token and creates the database connection to the production database.
Create a Deployment Definition That Updates an Existing Application
-
In the Qrvey Admin Center, select the Content Deployment icon in the left navigation panel to display the Deployment Definitions tab.
-
Select Create Definition to display a form for adding definition information.
-
From the Package to Deploy dropdown, select the package to use in this deployment.
-
From the Version of the Package to Deploy dropdown, select a package version.
-
Select Update an Existing Application.
The Delete and reinstall all content option displays. This option deletes and reinstalls assets in the target application, replacing any existing content. You should only use this option to repair assets.
-
From the Select Fields to Update dropdown, select Application Name and Description if you want to update them.
-
Select the content to deploy:
a. Select Select Content. The Select Content dialog opens.
b. Select individual items to update in the target application. To include all the content in the application, select Baseline (all content).
c. Select OK. The page updates to reflect the dependencies of your selections.
-
Expand each selection to display its properties. Modify the selections as needed.
Note: If an asset doesn’t exist in the target application, you must define it as New.
For datasets, the default setting is to not load the data when updating the dataset.
Note: An
unknownlabel might indicate a new connection type that has not yet been updated in the Content Deployment section. The new connection type can still be deployed, set up, and used.
Delete a Deployment Definition
To delete an existing deployment definition, select its corresponding options menu from the definition table, then select Delete.
Note: You cannot delete a deployment definition if it is associated with a deployment job.
Update Custom Attributes
By default, the Update Custom Attributes option is enabled in dashboards when selecting content.

When a customAttributes object contains IDs such as datasetId, chartId, dashboardId, and workflowId, they are replaced in the deployed application with new IDs.
To keep the IDs from updating in the target application’s customAttributes object, disable this option. After the application is deployed, the IDs in the customAttributes object remain the same as in the source application.
Note: Only IDs recognized by the Content Deployment process are affected by this functionality. Any other values added to the
customAttributesobject remain unchanged.